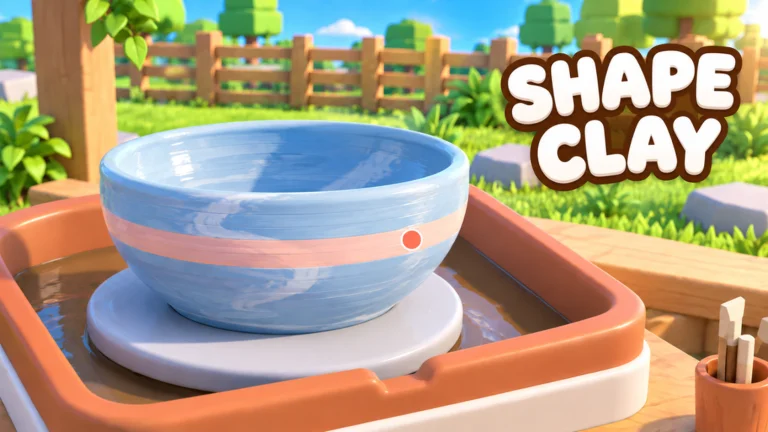
- Pottery wheel mastery: The wheel is where every Create Pottery piece starts, so shaping skill drives your income.
- Center first: A centered clay form prevents leaning rims, uneven walls, and distorted silhouettes.
- Shape in zones: Treat base, body, shoulder, and rim as separate areas you control one at a time.
- Glaze after shaping: Never use glaze to fix a bad form; finish the shape first.
- Sell smart: Repeat your best shape-and-glaze combinations to build a stable production routine.
How the Pottery Wheel Works in Create Pottery
The pottery wheel is the heart of Create Pottery, the relaxing Roblox pottery simulator by Team Lychee. Every finished piece begins as raw clay on a spinning wheel, and the decisions you make during shaping determine both the appearance and the selling value of the final product. Once the form is complete, you move it through glazing, kiln firing, and shop sales, but none of those stages can rescue a poorly shaped piece.
Before touching the wheel, understand where shaping sits in the overall workflow:
| Stage | What You Do | Why It Matters |
|---|---|---|
| Get Clay | Collect material, roll for rare clay | Rarer clay raises the potential value of the piece |
| Shape on Wheel | Center, build, and refine the form | Defines the silhouette and stability of the pottery |
| Glaze | Add color and surface finish | Customizes appearance before firing |
| Fire in Kiln | Complete the piece | Turns the decorated form into a finished item |
| Sell in Shop | Convert pieces into cash | Funds upgrades, employees, and expansion |
Keep a supply of clay ready before a crafting session, and save rarer clay for higher-value creations instead of spending it on routine practice pieces.
Step-by-Step Wheel Shaping Process
Shaping is about control, not speed. Follow this sequence to produce balanced, stable vessels that hold their value through the rest of the production line.
Center the clay on the wheel
Place the clay on the pottery wheel and keep the form centered while it spins. A centered start makes every later adjustment easier and reduces uneven walls, leaning rims, and accidental distortion. Make gradual changes rather than forcing the shape quickly.
Build the main shape
Raise and shape the clay into your desired form. Work the base, body, shoulder, and opening as separate zones so the silhouette stays balanced from bottom to top. A wider base generally gives the piece a more stable appearance.
Refine the rim and surface
Check the rim from multiple angles for uneven height, remove bumps and sharp transitions from the outer wall, and preserve distinctive details if you want a decorative silhouette. Small corrections now are far easier than repairs after glazing.
Apply glaze
Add color and surface treatment once the shape is finished. Inspect the entire piece before confirming the glaze, and choose a finish that supports the shape and intended value of the pottery.
Fire in the kiln
Place the glazed pottery in the kiln to complete production. Confirm shape and glaze are final before firing, since the kiln turns the prepared piece into a finished, sellable item.
Sell and reinvest
Move finished pottery into the shop workflow, compare results from different shapes and finishes, and reinvest profits into upgrades that improve the next production cycle.
Do not make the neck or rim too thin before the lower body is complete. Top-heavy forms lean and distort easily, and no amount of glaze or firing will fix an unstable shape.
Common Shaping Errors and Fixes
Most failed pieces come from a handful of repeatable errors. Learn to spot them early and your production success rate climbs quickly.
| Error | Cause | Fix |
|---|---|---|
| Leaning form | Body corrected too late, weak center | Fix the body first before working toward the rim |
| Uneven walls | rushed width changes | Adjust gradually; keep the main body stable first |
| Lopsided rim | Rim height not checked from all angles | Rotate view and even out before glazing |
| Distorted silhouette | Thin neck added too early | Complete the lower body before narrowing the top |
| Bumpy surface | Transitions not smoothed | Remove bumps and sharp edges during refinement |
Stability First
- Wider base for stable appearance
- Balanced sides on symmetrical vessels
- Lower body done before the neck
Refine Early
- Check rim from multiple angles
- Smooth the outer wall
- Corrections before glazing are easiest
Keep Details
- Preserve intentional decorative features
- Unusual silhouettes can sell well
- Balance detail with structural stability
Once a form and glaze combination sells well, repeat it. Consistent quality builds dependable income before you experiment with more ambitious designs.
Matching Clay Quality to Wheel Work
Clay choice and shaping skill work together. Processing premium clay with sloppy shaping wastes material, while careful wheel work on common clay is ideal practice.
| Clay Tier | Rarity | Best Use on the Wheel |
|---|---|---|
| S - Premium | Highest | Save for high-value shapes you have already practiced |
| A - Rare | High | Shape into valuable pottery when glaze and kiln capacity allow |
| B - Uncommon | Medium | Regular production and income runs |
| C - Common | Low | Learning the wheel, routine sales, workflow practice |
Use common clay to master centering and rim refinement. Once your error rate drops, move rare clay onto the wheel to maximize its selling potential.
Wheel Session Checklist
Run through this checklist each session to keep production efficient and profitable.
Before and During Each Session:
- Stock enough clay before starting
- Reserve rare clay for practiced shapes
- Center the form before any shaping
- Complete the lower body before the neck
- Check the rim from multiple angles
- Confirm shape and glaze before firing
- Compare sold pieces to find your best combinations
While pieces fire or sell, check the in-game phone for Jobs. Many tasks align with the pottery cycle, letting one session advance production, sales, and rewards at the same time.
FAQ
Q: Can glaze fix a badly shaped piece in Create Pottery?
No. Glaze adds color and surface finish, but it is not a substitute for correcting an unstable or poorly shaped form. Always finish the shape on the pottery wheel before glazing and firing.
Q: What is the most common pottery wheel mistake?
Making the neck or rim too thin before the lower body is complete. This creates top-heavy forms that lean or distort. Build and stabilize the base and body first, then narrow the opening.
Q: Should I use rare clay while still learning the wheel?
Practice with common clay first. Once you can consistently center clay, build balanced forms, and refine rims, switch to rare and premium clay so its higher selling potential is not wasted on flawed pieces.
Q: How does wheel work affect my shop income?
Shaping quality determines the final value of each piece. Consistent, well-formed pottery sells better, funds shop upgrades and employees faster, and supports expansion from a small studio into a larger pottery business.