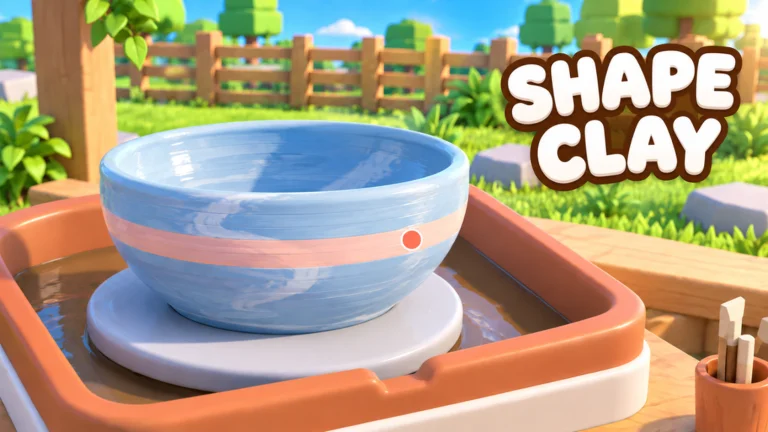
- Perfect pot creation in Create Pottery starts with a centered, stable form on the Pottery Wheel.
- Shape first, decorate later: fix the silhouette before applying Glaze or firing.
- Glaze consistency matters — inspect the whole piece before confirming the finish.
- Fire in the Kiln only after shaping and glazing are fully complete.
- Higher-value Clay deserves your best shapes, so save premium Clay for careful runs.
What Makes a Perfect Pot in Create Pottery
A perfect pot in Create Pottery is the result of controlling every stage of the production cycle: shaping on the Pottery Wheel, applying Glaze, and firing in the Kiln. Each stage builds on the previous one, and mistakes made early — a leaning rim, uneven walls, or a rushed shape — are difficult to fix after glazing or firing. Players who take the time to refine the form before finishing consistently produce pieces that look better and sell for more in the shop.
The core quality factors break down into four areas:
| Factor | Why It Matters | Common Mistake |
|---|---|---|
| Centering | A centered start keeps the form stable and controllable | Changing the shape too quickly |
| Symmetry | Balanced sides make the silhouette look professional | Ignoring one side while shaping |
| Rim height | An even rim signals a finished, careful piece | Thinning the neck too early |
| Surface | Smooth walls improve glaze appearance | Leaving bumps before firing |
Glaze cannot rescue a bad shape. Treat decoration as the reward for careful shaping, not a repair tool for an unstable or lopsided form.
Step-by-Step: Shaping, Glazing, and Firing
Follow this workflow every time you want a consistent, high-quality result. The order matters: shape completely, then glaze, then fire.
Center the clay on the Pottery Wheel
Place the clay on the wheel and keep the form centered while it spins. A centered starting shape reduces uneven walls, leaning rims, and accidental distortion. Make gradual adjustments instead of changing the shape too quickly.
Build the main shape
Raise the clay and control the base, body, shoulder, and opening as separate areas. A wider base gives the piece a more stable appearance, and both sides should stay visually balanced for a symmetrical vessel.
Refine the rim and surface
Check the rim from multiple angles for uneven height and remove bumps or sharp transitions from the outer wall. Small corrections now are far easier than repairs after glazing.
Apply Glaze
Add the final color and surface treatment consistently so the piece looks even after firing. Inspect the entire piece before confirming, and choose a finish that supports the shape and intended value.
Fire the piece in the Kiln
Place the glazed pottery in the Kiln to turn it into a finished item. Only fire once the shape and glaze are complete — the kiln stage is final.
Do not narrow the neck or rim before the lower body is complete. Thin upper sections collapse the visual balance of the pot and are the most frequent cause of disappointing finished pieces.
Clay Choice and Value: Match Material to Effort
Not every pot deserves your best Clay. Rare and premium Clay should be reserved for pieces where you invest real shaping time, while common Clay is ideal for learning the workflow and routine sales.
| Clay Tier | Rarity | Production Value | Recommended Use |
|---|---|---|---|
| S — Premium | Highest | Highest | Save for high-value pottery and premium runs |
| A — Rare | High | High | Use when decoration and firing capacity are ready |
| B — Uncommon | Medium | Moderate | Regular income and crafting practice |
| C — Common | Low | Low | Early-game learning and routine sales |
Routine Production
- Use B/C tier Clay
- Focus on speed and consistency
- Builds dependable shop income
Showcase Pieces
- Use S/A tier Clay
- Slow, careful shaping
- Highest sale potential
Experimentation
- Use spare C tier Clay
- Test new silhouettes and glazes
- Learn without wasting rare material
Keep two production tracks running: common Clay for steady income, and saved rare Clay for carefully shaped high-value pieces when you have the time to do them properly.
Glaze Strategies That Improve a Perfect Pot
Glaze is where a well-shaped pot becomes a finished product worth paying for. The goal is consistency and intentional pairing between form and finish.
| Glaze Approach | Best For | Key Tip |
|---|---|---|
| Single consistent finish | Symmetric, classic forms | Inspect the full surface before confirming |
| Bold accent colors | Decorative silhouettes | Keep accents tied to the shape's focal point |
| Subtle natural tones | Premium Clay pieces | Lets the form speak; safe for high-value sales |
| Experimental combos | Test pieces on common Clay | Prove a combination before using rare material |
Repeat successful shape-and-glaze combinations to build a reliable production routine. Comparing finished results side by side is the fastest way to learn which finishes produce the best shop outcomes.
Before confirming any glaze, rotate your view and check the piece from every angle. Uneven application is only fully visible after firing — when it is too late to change.
From Perfect Pot to Profit
A perfect pot is also a business asset. Once fired, move it into your shop workflow and use the income to fund upgrades, employees, and future production. Sales efficiency and production capacity upgrades determine how effectively your studio converts finished pieces into income.
| Stage | Focus | How Perfect Pots Help |
|---|---|---|
| Early game | Learn the full cycle | Better-shaped common Clay pots sell reliably |
| Mid game | Process better Clay | Shaping skill makes rare Clay runs profitable |
| Late game | Scale and automate | Premium pots fund employees and shop expansion |
Perfect Pot Production Checklist:
- Clay centered and stable before shaping
- Base, body, shoulder, and rim each refined
- Surface smooth with no bumps or sharp transitions
- Glaze inspected from every angle before firing
- Kiln firing completed only after shape and glaze are final
FAQ
Q: Can I fix a pot after glazing or firing?
No. Small corrections are easiest during the shaping stage on the Pottery Wheel. After glaze is confirmed and the piece is fired in the Kiln, the result is final, so refine the rim and surface before moving to decoration.
Q: What is the most common reason a pot looks bad?
Rushing the shape. Thinning the neck or rim before the lower body is complete, or making abrupt adjustments on the wheel, causes leaning rims and uneven walls that glaze cannot hide.
Q: Should I use rare Clay for practice pieces?
No. Practice silhouettes and glaze experiments on common Clay, and reserve rare or premium Clay for runs where you shape carefully and intend to sell at a high value.
Q: When should I fire a perfect pot in the Kiln?
Only after the shape is fully refined and the glaze has been inspected from every angle. Firing completes the production process and turns the piece into a finished item ready for the shop.