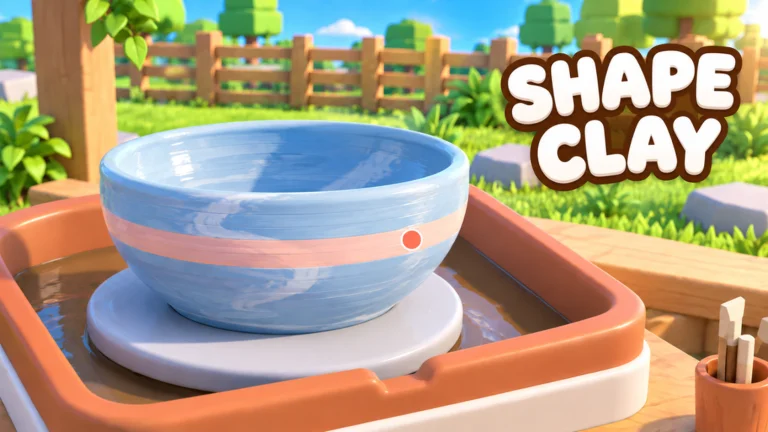
- Center clay is the first and most important step of every pottery piece in Create Pottery
- A centered form prevents leaning rims, uneven walls, and accidental distortion
- Match clay tier to purpose: common clay for practice, rare clay for high-value pieces
- Shape first, glaze later: glaze never fixes a bad form
- Complete the cycle: wheel, glaze, kiln, then sell for steady income
Why Centering Clay Matters in Create Pottery
Every pottery piece in Create Pottery begins the same way: a lump of clay placed on a spinning pottery wheel. Before you think about glaze colors, kiln timing, or shop prices, your success depends on how well you center and shape that initial clay. A centered form is easier to control, produces balanced walls, and gives the finished piece a more valuable silhouette when it reaches your shop.
New players often rush through shaping to reach the decorating stage, and that habit creates problems later. Corrections made on the wheel take seconds; corrections attempted after glazing are usually impossible.
Treat the wheel as the foundation of your entire business. A stable, centered shape raises the value of every downstream step: glaze looks better on a balanced form, kiln results are more predictable, and finished pieces sell for more.
Common shaping mistakes and how they appear:
| Mistake | How It Shows Up | Fix |
|---|---|---|
| Off-center start | Piece wobbles or leans while spinning | Restart and center the clay before raising walls |
| Racing the shape | Walls collapse or twist mid-form | Make gradual adjustments, one area at a time |
| Thin neck too early | Rim flops or the vessel tips | Complete the lower body before narrowing |
| Skipping rim check | Uneven height visible after firing | Inspect the rim from multiple angles before glaze |
| Ignoring bumps | Rough outer wall hurts final value | Smooth the surface before moving to decoration |
Step-by-Step: Centering and Shaping Clay
The full crafting workflow moves from raw clay to a sellable product. Follow this sequence each session to build a reliable production routine.
Center the clay on the wheel
Place the clay on the pottery wheel and keep the form centered while it spins. A centered starting shape reduces uneven walls, leaning rims, and accidental distortion. Make gradual adjustments instead of changing the shape too quickly.
Build the main shape
Raise and shape the clay into the desired form. Control the base, body, shoulder, and opening as separate areas so the silhouette stays balanced from bottom to top. A wider base generally gives the piece a more stable appearance.
Refine the rim and surface
Finish the opening and smooth the visible surface. Small corrections here are far easier than repairs after glazing or firing. Check the rim from multiple angles for uneven height.
Apply glaze
Add the final color and surface treatment. Inspect the entire piece before confirming, and choose a finish that supports the shape and intended value of the pottery.
Fire in the kiln
Place the glazed pottery in the kiln to complete production. Confirm shape and glaze are final before firing, because this stage locks in the result.
Sell the finished piece
Move completed pottery into the shop workflow and reinvest sales into materials, upgrades, and employees.
Do not treat glaze as a substitute for good shaping. A beautiful finish on a leaning, unstable form still produces a low-value product. Fix the form on the wheel first, every time.
Clay Tiers: Which Clay to Use and When
Not all clay deserves the same treatment. Judge each type by rarity, acquisition difficulty, and production value, then decide whether to spend it now or save it for premium pieces.
S Tier: Premium Clay
- Rarity: Highest
- Value: Highest production output
- Best use: Save for high-value pottery runs
A Tier: Rare Clay
- Rarity: High
- Value: High
- Best use: Process when decoration and firing capacity allow
B Tier: Uncommon Clay
- Rarity: Medium
- Value: Moderate
- Best use: Regular income and steady progression
C Tier: Common Clay
- Rarity: Low
- Value: Low
- Best use: Early practice and routine sales
| Tier | Acquisition Difficulty | Recommended Use | Spending Priority |
|---|---|---|---|
| S | High | Premium production runs | Keep whenever possible |
| A | Medium to high | High-value pottery with full finishing | Use selectively |
| B | Moderate | Daily income and skill practice | Process regularly |
| C | Low | Learning the workflow, routine sales | Spend freely |
Reserve rarer clay for pottery with strong selling potential. Burning premium clay on routine practice pieces is one of the most common ways new players slow their own progression.
Turning Centered Clay Into Income
A well-centered piece only matters if it converts into cash and gems efficiently. Your best income method shifts as the studio grows.
| Stage | Best Methods | Cash Focus | Gems Focus |
|---|---|---|---|
| Early Game | Sell finished pottery, complete phone Jobs, use common clay efficiently | Build dependable cash flow through the full cycle | Save gems for useful shop features |
| Mid Game | Process better clay, higher-value Jobs, improve shop | Prioritize higher-value clay, reinvest sales | Spend on repeatable-income upgrades |
| Late Game | High-value pottery, rare clay, shop expansion, employees | Run multiple income channels together | Direct gems toward expansion purchases |
Keep crafting while checking your phone for Jobs. Production and task rewards should progress together, not in separate sessions. Prioritize Jobs that match what you are already doing on the wheel.
Shop upgrade priorities at a glance:
| Upgrade Area | Priority | Best Time to Buy |
|---|---|---|
| Production capacity | High early | When output outpaces processing |
| Sales efficiency | High when sales bottleneck | When finished items pile up unsold |
| Shop expansion | Medium | After the basic loop is reliable |
| Customer income | Medium to high | Once customer activity is consistent |
| Business scale | Late game | After core upgrades are in place |
Studio Growth Checklist
Pottery Studio Milestones:
- Consistently center clay without leaning forms
- Complete the full wheel-glaze-kiln cycle unprompted
- Build a stockpile of rare clay for premium runs
- Establish steady daily shop income
- Hire first employee to remove your biggest bottleneck
Delay hiring until the core loop is stable and income covers the cost. Your first employee should target the part of the business that most often stalls: production support if pottery is slow, sales support if finished pieces wait for customers.
FAQ
Q: How do I center clay properly in Create Pottery?
Place the clay on the pottery wheel and keep the form centered while it spins, making gradual adjustments rather than fast changes. Keep the main body stable before narrowing or widening the form, and correct any lean before working toward the rim.
Q: Which clay should I save and which should I spend?
Spend common (C tier) and uncommon (B tier) clay freely on practice and routine sales. Save rare (A tier) and premium (S tier) clay for high-value pottery runs where decoration and firing capacity can match the material's potential.
Q: Can glaze fix a badly shaped piece?
No. Glaze adds color and surface treatment, but it cannot correct an unstable or poorly shaped form. Complete all shaping corrections on the wheel before applying any finish.
Q: When should I fire my pottery in the kiln?
Only fire after the shape and glaze are fully complete. The kiln stage locks in the result and turns the piece into a finished item, so confirm the rim, surface, and finish first.