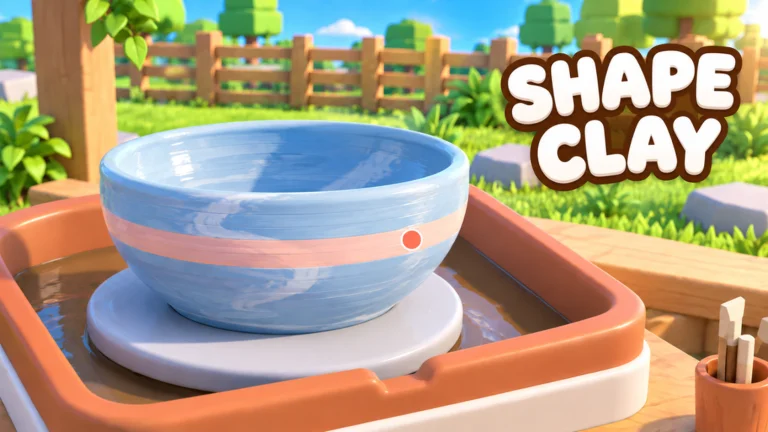
- Kiln basics: The kiln is the final production stage that turns shaped, glazed clay into sellable pottery in Create Pottery.
- Order matters: Always finish shaping and glazing before firing; the kiln completes a piece, it does not fix mistakes.
- Best practice: Inspect the full piece, confirm the glaze, then fire to lock in the final value.
- Income link: Fired pottery is what your shop sells, so firing efficiency directly drives income.
- Routine tip: Repeat successful shape-and-glaze combinations to build a reliable production routine.
How the Pottery Kiln Works
The kiln is the last stage of the core crafting loop in Create Pottery. After you collect clay, shape a piece on the pottery wheel, and apply glaze, the kiln turns that prepared work into a finished product ready for evaluation and sale in your shop. Because the kiln finalizes the piece, everything you do before firing determines the outcome.
The full production chain follows a fixed order:
| Stage | Action | Purpose | Reversible? |
|---|---|---|---|
| 1 | Collect clay | Gather material for the wheel | Yes |
| 2 | Shape on the wheel | Build a stable, balanced form | Yes |
| 3 | Refine rim and surface | Smooth bumps, correct leaning shapes | Yes |
| 4 | Apply glaze | Add final color and surface finish | Limited |
| 5 | Fire in the kiln | Complete the piece into a finished item | No |
| 6 | Sell in shop | Convert finished pottery into cash | Yes |
Firing completes the production process, but it does not repair a poorly shaped or unbalanced form. Correct the body, rim, and surface while the piece is still on the wheel—small fixes at the shaping stage are much easier than trying to compensate later.
Step-by-Step Kiln Workflow
Follow this sequence every time you fire a batch. Building the habit keeps production smooth and prevents half-finished pieces from clogging your shop.
Verify the shape
Check the piece from multiple angles before leaving the wheel. Look for uneven rim height, leaning walls, or sharp transitions on the outer surface. Fix anything unstable now.
Confirm the glaze
Apply glaze consistently across the entire piece, then inspect it fully before confirming. Choose a finish that matches the shape and the intended value of the pottery.
Load the kiln
Move the glazed piece into the kiln to start the firing stage. Only send pieces with both shape and glaze fully complete.
Complete the firing stage
Let the kiln finish turning the prepared piece into a completed item. Do not attempt to sell or evaluate a piece before this stage is done.
Send to shop and track results
Move the finished pottery into your sales workflow. Compare results across different shapes and finishes to learn which combinations produce the best outcomes.
Repeat successful combinations
Build a production routine around the forms and finishes that consistently sell well, and reinvest the income into upgrades and materials.
When processing several items, plan the order before you start: shape and glaze a full batch, then fire them together. This reduces idle time between the wheel, kiln, and shop, and keeps your whole production cycle moving.
Kiln Readiness Checklist
Before each firing session, run through this checklist. Pieces that fail these checks are more likely to disappoint when they reach the shop.
Before Firing, Confirm:
- Shape is stable and centered with no leaning walls
- Rim is even when viewed from multiple angles
- Outer surface has no bumps or sharp transitions
- Glaze is applied consistently across the whole piece
- Finish matches the intended shape and sale value
- Shop has room to accept the finished piece
Common Firing Mistakes and Fixes
Most disappointing firings trace back to the stages before the kiln. Here are the frequent problems and how to correct them:
| Problem | Likely Cause | Fix |
|---|---|---|
| Uneven, cheap-looking result | Shape corrected too late or rushed | Refine the body and rim on the wheel before glazing |
| Dull or patchy finish | Glaze applied inconsistently | Inspect the entire piece before confirming the glaze |
| Leaning silhouette | Base or lower body unstable | Widen the base and stabilize the body before shaping the neck |
| Thin neck or rim | Detail work done before the body | Complete the lower form first, then narrow the top |
| Low sale value | Rare clay used on routine pieces | Save rare clay for high-value shapes and premium finishes |
| Slow production | Pieces fired one at a time | Batch shape, glaze, and fire multiple pieces together |
Treat glazing as the finishing touch, not a substitute for correcting an unstable form. A balanced, well-refined shape with a simple glaze generally outperforms a poor shape with an expensive finish.
Firing Strategy Across the Clay Tier List
The kiln stage is where clay quality pays off. Match your firing decisions to the material you are working with:
Common Clay (C)
- Spend freely
- Use for learning the full wheel-to-kiln workflow
- Best for routine early-game sales
Uncommon Clay (B)
- Process regularly
- Steady income and practice material
- Good for refining your firing routine
Rare Clay (A)
- Use selectively
- Fire only with suitable decoration capacity ready
- Reserve for higher-value shapes
Premium Clay (S)
- Keep whenever possible
- Save for premium production runs
- Pair with your best shapes and finishes
| Clay Tier | Firing Priority | Best Use |
|---|---|---|
| S - Premium | Save | High-value pottery and premium runs |
| A - Rare | Selective | Valuable pieces when glaze capacity allows |
| B - Uncommon | Regular | Consistent income and practice |
| C - Common | Free | Early-game learning and routine sales |
Once firing is routine, connect it to the rest of your business: complete phone Jobs that match your production cycle, hire employees when bottlenecks appear, and reinvest shop income into upgrades that raise your production ceiling.
Kiln FAQ
Q: Can I fire a piece before applying glaze?
The intended workflow in Create Pottery is to shape, glaze, then fire. Complete both the shape and glaze stages before starting the kiln, since firing finalizes the piece rather than preparing it for later decoration.
Q: Does the kiln fix a badly shaped pot?
No. The kiln turns a prepared piece into a finished item, but it does not correct leaning walls, uneven rims, or unstable forms. Fix those issues on the pottery wheel before moving forward.
Q: How does firing affect my income in the pottery kiln guide workflow?
Only fired pottery can be sold in your shop, so the kiln is the gateway to income. Comparing the sale results of different shapes and finishes helps you identify which combinations to repeat for the best returns.
Q: Should I fire rare clay immediately?
It is usually better to hold rare clay until you can pair it with a strong shape and a suitable finish. Using premium material on routine pieces wastes its higher production value.