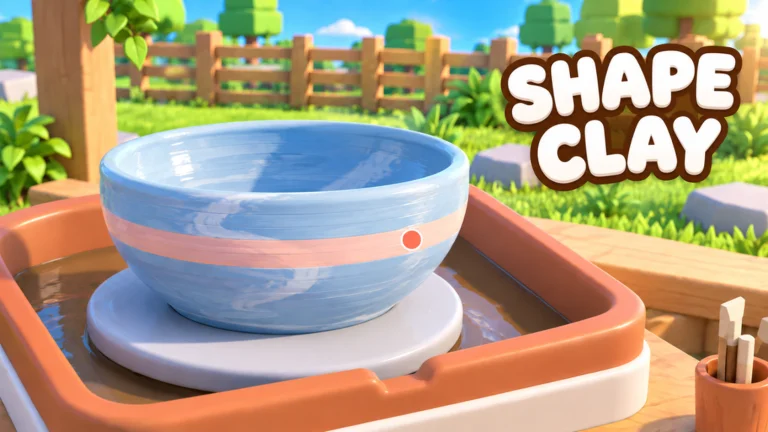
- Fire pottery only after shaping and glazing are fully complete — the kiln is the final stage
- Kiln firing turns a prepared piece into a finished, sellable item in your shop
- Pre-firing checks prevent wasted clay, glaze, and production time
- Repeat winning combos of shape, glaze, and firing to build reliable income
- Batch your firing when processing several pieces to keep the studio efficient
How Firing Works in Create Pottery
Firing is the last step of the pottery production loop in Create Pottery! on Roblox. Every piece follows the same path: collect Clay, shape it on the Pottery Wheel, apply Glaze, then place it in the Kiln. Only after firing is complete does the piece become a finished product that can be evaluated and sold through your shop.
The kiln stage matters because it locks in everything you did before it. Shape problems, uneven glaze, or a rushed silhouette all become permanent once the piece comes out of the kiln. Treat firing as a quality checkpoint rather than a simple button press.
Where firing fits in the workflow:
| Stage | Action | Reversible? | Result if Skipped |
|---|---|---|---|
| 1 | Collect Clay | Yes | No material to shape |
| 2 | Shape on Pottery Wheel | Yes | No form to finish |
| 3 | Apply Glaze | Yes | Plain, undecorated piece |
| 4 | Fire in Kiln | No | Piece cannot be sold |
| 5 | Sell in Shop | — | No income from the piece |
You cannot return a piece to the wheel after firing. Confirm the shape, rim, and glaze are all finished before you start the kiln stage.
Pre-Firing Checklist: What to Verify First
The most common firing problems are actually created before the kiln. Run through these checks to make sure each piece is genuinely ready.
Shape Stability
- Base is wider than the rim
- Both sides visually balanced
- No leaning body or tilted neck
Surface Quality
- Rim is even from all angles
- Bumps and sharp transitions smoothed
- Distinctive details preserved
Glaze Condition
- Finish applied evenly
- Entire piece inspected before confirming
- Glaze matches intended value of piece
Quick pre-firing inspection table:
| Checkpoint | Pass Condition | Fix If Failed |
|---|---|---|
| Body symmetry | Both sides match visually | Correct the body before the rim |
| Rim height | Even from every angle | Refine rim on the wheel |
| Outer wall | Smooth, no bumps | Smooth unwanted transitions |
| Glaze coverage | Consistent across the piece | Re-apply before firing |
| Detail intent | Decorative features intact | Preserve, do not flatten |
Glaze is not a repair tool. If the underlying form is unstable or poorly shaped, fix the shape on the wheel first — glazing over a bad form just makes the flaw permanent.
Step-by-Step: Fire Pottery From Start to Finish
Follow this sequence to take a piece from raw clay to a fired, sellable product without wasted steps.
Stock Clay Before You Start
Keep a supply of Clay ready before each session, and reserve rarer Clay for pieces where the higher value justifies the material cost.
Center and Build the Form
Place the clay on the Pottery Wheel and keep it centered while spinning. Build the base, body, shoulder, and opening as separate areas so the silhouette stays balanced.
Refine Rim and Surface
Finish the opening and smooth the outer wall. Small corrections now are far easier than repairs after glazing or firing.
Apply Glaze Evenly
Add the final color and surface treatment. Inspect the whole piece from multiple angles before confirming the glaze.
Fire in the Kiln
Place the finished piece in the Kiln to complete production. The kiln turns the prepared piece into a finished item ready for sale.
Sell and Reinvest
Move the fired pottery into your shop workflow. Use the sale income to fund Clay, upgrades, and employees for the next production cycle.
When processing multiple pieces, plan the production order in advance. Shape several pieces, glaze them, then fire them as a group so no kiln cycle sits empty while you work.
Common Firing Mistakes and How to Avoid Them
Most failed or low-value fired pieces come from a handful of repeatable errors. Learn them once and your shop income becomes far more consistent.
| Mistake | What Goes Wrong | Prevention |
|---|---|---|
| Firing too early | Shape or glaze flaws become permanent | Complete the full pre-firing checklist |
| Glazing a weak form | Glaze highlights the instability | Fix shape on the wheel first |
| Thin neck before body done | Piece leans or distorts | Build lower body before narrowing |
| Ignoring rim height | Uneven opening after firing | Check rim from multiple angles |
| Wasting rare Clay | High-value material on routine pieces | Reserve rare Clay for premium runs |
| Skipping glaze inspection | Patchy finish on final item | Inspect entire piece before confirming |
Do not spend rare or premium Clay on experimental shapes. Learn forms with common Clay first, then move expensive material onto designs you already know fire and sell well.
Turning Fired Pottery Into Income
A fired piece is only as valuable as what you do with it next. Compare your selling options and match each fired piece to the right channel.
| Channel | Best For | Efficiency Notes |
|---|---|---|
| Shop sales | Every finished piece | Core income; keep quality consistent |
| Phone Jobs | Task-matched pottery | Check Jobs before sessions so production counts twice |
| Premium runs | Rare Clay pieces | Highest value; only with proven shape and glaze |
| Upgrade reinvestment | Steady growth | Fund shop capacity and sales efficiency early |
After firing, review which shape and glaze combinations produced the best shop outcomes, then repeat those combinations to build a reliable production routine. Consistent quality beats occasional experimental pieces when you need dependable income.
Note down your best-performing shape and glaze pairs. A short list of proven combinations is the fastest way to standardize high-value output as your studio grows.
Firing Session Goals:
- Complete pre-firing checks on every piece
- Batch multiple pieces into one kiln session
- Sell all finished pottery before ending the session
- Record best shape and glaze combinations
- Reinvest sales into Clay stock or shop upgrades
Fire Pottery FAQ
Q: When should I fire pottery in Create Pottery?
Fire a piece only after the shape is stable, the rim and surface are refined, and the glaze has been applied and inspected. The kiln is the final production stage, so anything unfinished before firing becomes permanent in the finished item.
Q: Can I fix a piece after firing it?
No. Firing locks in the shape and glaze. If a piece comes out with a leaning body, uneven rim, or patchy glaze, the correction is to remake the piece on the wheel using better technique, which is why the pre-firing checklist matters.
Q: Does firing affect how much pottery sells for?
The kiln completes the piece so it can be sold, but the value comes mainly from the Clay rarity, shape quality, and glaze choice you decided before firing. Firing well-formed, well-glazed pieces is what produces consistent shop income.
Q: Should I fire pieces one at a time or in batches?
Batching is more efficient. Shape and glaze several pieces, then fire them as a group so the kiln stays busy while you continue crafting. Plan the production order in advance when processing multiple items.