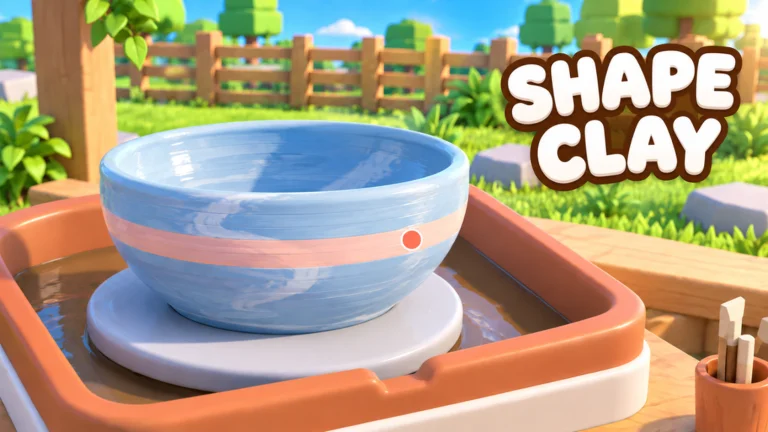
- Create Pottery glaze is the finishing step that adds final color and surface treatment before kiln firing.
- Order matters: glaze after the shape is fully refined, never as a fix for a poorly shaped piece.
- Value boost: a well-chosen finish supports the intended sale value of your pottery.
- Best habit: inspect the whole piece from multiple angles before confirming the glaze.
- Efficiency tip: repeat successful shape-and-glaze combinations to build a reliable production routine.
What Glazing Does in Create Pottery
Glazing is the third stage of the core Create Pottery workflow: shape the clay on the Pottery Wheel, refine the rim and surface, then apply Glaze to add the final color and surface treatment. Only after glazing does the piece go into the Kiln, where it becomes a finished product ready for sale in your shop.
A glaze does two things at once. Visually, it defines the look of the piece and how customers perceive it. Economically, a finish that supports the shape and intended value of the pottery helps the finished item sell at a better price. That is why glazing deserves as much attention as shaping itself.
Never treat glazing as a substitute for correcting an unstable or poorly shaped form. Fix bumps, leaning rims, and uneven walls on the wheel first. Small corrections before glazing are far easier than trying to hide flaws with color.
The table below summarizes where glazing sits in the production cycle:
| Stage | Action | Goal |
|---|---|---|
| 1. Shaping | Center clay, build the form on the Pottery Wheel | Stable, balanced silhouette |
| 2. Refining | Smooth surface, even out the rim | Clean surface ready for finish |
| 3. Glazing | Apply Glaze for color and surface treatment | Consistent, even appearance |
| 4. Firing | Place the glazed piece in the Kiln | Turn the piece into a finished item |
| 5. Selling | Move finished pottery to the shop | Earn cash for upgrades and growth |
Step-by-Step Glazing Workflow
Follow this sequence every time you finish a piece. Consistency is what turns glazing from guesswork into a repeatable part of your production routine.
Confirm the Shape Is Final
Before opening the glaze options, double-check the rim height, outer wall, and overall silhouette. Once glaze is applied and the piece is fired, corrections are no longer possible.
Review the Piece from Every Angle
Inspect the entire piece before confirming the glaze. Rotate your view and look for uneven surfaces, missed spots, or transitions that will look awkward once colored.
Choose a Finish That Supports the Shape
Pick a color and surface treatment that matches the form and the intended value of the pottery. Bold finishes suit decorative pieces; clean, even finishes suit items you plan to sell in volume.
Apply the Glaze Consistently
Apply the finish evenly so the piece has a uniform appearance after firing. Patchy or inconsistent coverage makes even a well-shaped piece look rushed.
Send the Piece to the Kiln
Only start firing once both shape and glaze are complete. The kiln stage locks in your decisions and produces the final sellable item.
After each sale, note which shape-and-glaze combinations produced the best shop outcomes. Repeating successful combinations is the fastest way to build a dependable, high-value production routine.
Glaze Selection by Production Goal
Different stages of your pottery business call for different glazing priorities. Early on, speed and consistency matter more than experimentation. Once your income is stable, you can afford to test premium finishes on rare Clay pieces.
Early Game: Consistency First
- Use simple, even finishes
- Prioritize fast production cycles
- Learn how glaze changes perceived value
- Sell every finished piece to build cash flow
Mid Game: Value Matching
- Match finish quality to Clay tier
- Reserve stronger finishes for higher-value pieces
- Combine with better phone Jobs for income
- Reinvest sales into shop improvements
Late Game: Premium Presentation
- Use rare Clay with standout finishes
- Experiment with bold, decorative looks
- Support output with employees and shop upgrades
- Build a signature style customers recognize
The next table connects glazing decisions to your Clay usage strategy:
| Clay Tier | Rarity | Recommended Glaze Approach | Priority |
|---|---|---|---|
| S - Premium Clay | Highest | Standout finishes on high-value pieces | Keep for premium runs |
| A - Rare Clay | High | Strong finishes when decoration capacity allows | Use selectively |
| B - Uncommon Clay | Medium | Clean, consistent finishes for regular income | Process regularly |
| C - Common Clay | Low | Simple finishes while learning the workflow | Spend freely |
Rare and premium Clay deserves a finish that reflects its value. Wasting a standout glaze on a routine piece, or rushing a plain finish on premium Clay, both reduce your overall returns.
Common Glazing Mistakes and Fixes
Most glazing problems trace back to skipping earlier steps or rushing the inspection. Use this table to diagnose issues before they cost you sales:
| Mistake | Cause | Fix |
|---|---|---|
| Uneven appearance after firing | Glaze applied inconsistently | Apply the finish evenly; rotate and inspect before confirming |
| Finish hides a bad shape | Glazing used as a repair tool | Correct bumps and leaning rims on the wheel first |
| Low sale price despite good glaze | Finish does not match piece value or shape | Choose a finish that supports the intended value |
| Wasted premium glaze | Rare Clay paired with rushed finishing | Reserve standout finishes for high-value production runs |
| Rushed batches | Glazing several pieces without a plan | Plan the production order before starting a session |
When processing several items, decide the glaze order in advance. Mixing experimental finishes into a routine batch slows down your whole production cycle and makes it harder to spot which combinations actually sell.
Glazing Checklist for Every Piece
Run through this checklist before and after glazing to keep quality consistent across your entire production run:
Before Firing, Confirm:
- Shape is stable, symmetrical, and free of bumps
- Rim height is even when viewed from multiple angles
- Glaze matches the intended value of the piece
- Finish is applied consistently across the whole surface
- Shape and glaze are both complete before entering the Kiln
The studios that grow fastest in Create Pottery are the ones that treat glazing as a standard step, not an afterthought. A consistent checklist keeps quality high while you scale production with employees and shop upgrades.
FAQ
Q: When should I apply glaze in Create Pottery?
Apply glaze only after the shape is fully refined on the Pottery Wheel. Glazing is the third stage of production, followed by kiln firing and selling. It adds final color and surface treatment, so it should never be used to fix a poorly shaped form.
Q: Does glazing affect the value of my pottery?
Yes. A finish that supports the shape and intended value of the piece improves its presentation, which helps it sell better in your shop. Pair standout glazes with rare or premium Clay for the strongest returns.
Q: What is the most common glazing mistake?
The most common mistake is using glaze as a substitute for correcting an unstable shape. Fix uneven walls and leaning rims on the wheel first, then inspect the entire piece from multiple angles before confirming the glaze.
Q: Should I experiment with different glazes?
Experiment once your basic production cycle is stable and income is dependable. Track which shape-and-glaze combinations produce the best shop outcomes, then repeat those successful combinations to build a reliable, high-value routine.