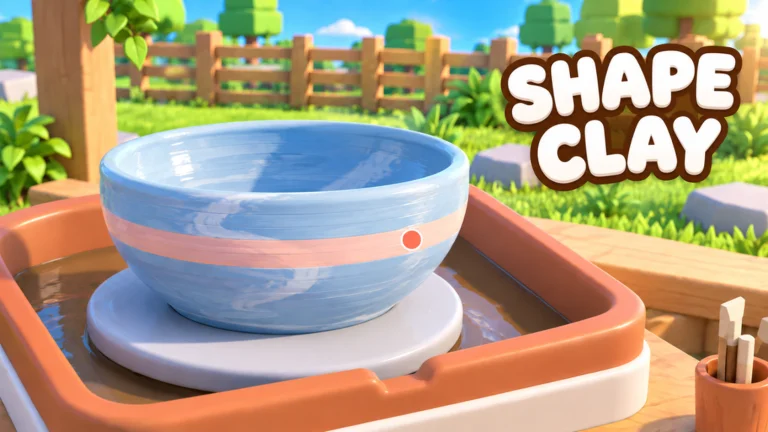
- Create Pottery pottery ideas start with shape control on the wheel, not fancy glazes.
- Simple symmetrical forms like vases and bowls sell reliably for early income.
- Save rare clay for premium designs once your glaze and kiln workflow is stable.
- Repeat successful shape-and-glaze combos to build a dependable production routine.
- Check phone Jobs first so every crafting session also advances task rewards.
Why Good Pottery Ideas Matter in Create Pottery
In Create Pottery, every piece you sell follows the same loop: gather clay, shape it on the pottery wheel, apply glaze, fire it in the kiln, and sell it in your shop. The difference between a slow starter and a profitable studio usually comes down to which pottery ideas you commit to. Pieces with clean shapes, even glaze coverage, and the right clay consistently outsell rushed, lopsided work.
Choosing a small set of repeatable designs also frees your attention for phone Jobs, shop upgrades, and eventually hiring employees. Instead of experimenting blindly, anchor your production around a few proven silhouettes and refine them over time.
Beginner Designs
- Basic bowls and cups
- Common clay, cheap glaze -Fast to shape and fire
- Steady early-game cash
Mid-Game Designs
- Tall vases and jars
- Uncommon clay recommended
- Higher sale value per piece
- Tests your rim control
Premium Designs
- Rare-clay showpieces
- Best glazes only
- Highest shop income
- Save for stable production
Pick two or three signature shapes and master them before branching out. A well-made simple vase earns more than a sloppy complicated one, and consistent quality builds a dependable income base for upgrades and employees.
Pottery Idea Catalog by Category
The table below organizes proven pottery ideas by difficulty and payoff. Use it to pick your next project based on the clay and glazes you currently have available.
| Idea | Shape Difficulty | Best Clay | Recommended Glaze | Sales Value |
|---|---|---|---|---|
| Simple bowl | Easy | Common | Single solid color | Low but fast |
| Drinking cup | Easy | Common | Solid or two-tone | Low but fast |
| Rounded pot | Easy-Medium | Common / Uncommon | Warm earth tones | Moderate |
| Tall vase | Medium | Uncommon | Gradient-style finish | Good |
| Wide jar with lid | Medium | Uncommon | Contrasting rim color | Good |
| Slim bottle form | Medium-Hard | Rare | Deep glaze blue | High |
| Decorative showpiece | Hard | Rare / Premium | Layered or gold accents | Highest |
Glaze cannot rescue a bad form. Correct the body, shoulder, and rim on the wheel first, then decorate. A stable, symmetrical shape is the foundation of every high-value pottery idea.
Clay choice should match the ambition of the piece. Here is a quick priority reference based on how each clay tier is best used:
| Clay Tier | Rarity | Best Use | Priority |
|---|---|---|---|
| S - Premium | Highest | High-value showpieces | Keep whenever possible |
| A - Rare | High | Valuable vases and bottles | Use selectively |
| B - Uncommon | Medium | Regular income pieces | Process regularly |
| C - Common | Low | Early practice and routine sales | Spend freely |
Step-by-Step: Turning an Idea into a Finished Piece
Follow this workflow for every pottery idea you attempt. Each stage builds on the previous one, so avoid skipping ahead to glazing or firing before the form is ready.
Center the clay on the wheel
Place your clay on the pottery wheel and keep the form centered while it spins. A centered start reduces uneven walls, leaning rims, and distortion later. Make gradual adjustments rather than rapid shape changes.
Build the main body
Raise the clay into your target silhouette, treating the base, body, shoulder, and opening as separate zones. A wider base gives a more stable appearance; keep both sides balanced for symmetrical vessels.
Refine the rim and surface
Check the rim from multiple angles for uneven height, smooth bumps on the outer wall, and fix sharp transitions now. Corrections are much harder after glazing or firing.
Apply glaze
Add your chosen glaze evenly across the whole piece. Inspect the surface before confirming, and pick a finish that supports the shape and intended sale value of the design.
Fire in the kiln
Send the glazed piece through the kiln to complete it. Only finished, fired pottery can be evaluated and sold in your shop, so confirm shape and glaze before this stage.
Sell and reinvest
Move the finished piece into your shop workflow and use the income for better clay, upgrades, and eventually employees. Track which shape-and-glaze combos sell best and repeat them.
Most disappointing pieces come from three mistakes: shaping the neck too thin before the lower body is done, glazing over an unstable form, and firing before the rim is even. Slow down at the wheel and the rest of the workflow rewards you.
Glaze Pairing Ideas for Every Shape
Glaze selection is where a decent piece becomes a desirable one. Pair finishes with shapes deliberately rather than applying your favorite color to everything.
| Shape | Glaze Approach | Effect |
|---|---|---|
| Simple bowl | Single warm tone | Clean, consistent, easy to produce in bulk |
| Cup | Two-tone split | Adds interest without extra shaping effort |
| Rounded pot | Earth tones (terracotta, cream) | Cozy, classic studio look |
| Tall vase | Gradient or fading tones | Emphasizes height and elegant silhouette |
| Wide jar | Contrasting rim accent | Draws the eye to the lid and opening |
| Slim bottle | Deep glaze blue | Premium feel that suits rare clay |
| Showpiece | Layered colors or gold accents | Maximum visual and sale value |
Group production runs by glaze type. Firing several pieces with the same finish in one session speeds up your workflow and makes it easier to judge which combinations your shop customers actually buy.
Daily Studio Checklist
Turn these pottery ideas into a repeatable studio routine. Work through the checklist each session to keep production, income, and progression moving together.
Per-Session Studio Routine:
- Check phone Jobs before starting any production
- Stock enough clay for the full session
- Shape two or three proven signature forms
- Glaze and fire the full batch before selling
- Compare sale results and note the best shape-glaze combo
- Reinvest income into the next clay or shop upgrade
Before shaping, scan the Jobs menu for tasks involving making, glazing, firing, or selling pottery. Choosing pottery ideas that overlap with active Jobs means one production session advances your business on two tracks at once.
FAQ
Q: What are the best Create Pottery pottery ideas for beginners?
Start with simple bowls and cups made from common clay. They shape quickly, tolerate small mistakes, and build steady early income while you learn wheel control. Move up to rounded pots and tall vases once your shapes stay symmetrical.
Q: Should I use rare clay on every pottery idea?
No. Reserve rare and premium clay for designs you can already shape reliably, such as slim bottles or decorative showpieces. Wasting rare clay on practice pieces is one of the most common progression mistakes.
Q: Can glaze fix a badly shaped piece?
Glaze improves appearance, not structure. An uneven rim or leaning body will still look flawed after glazing and firing. Always correct the form on the pottery wheel before decorating.
Q: How do I turn pottery ideas into consistent income?
Identify your two or three best-selling shape-and-glaze combinations, then repeat them in batches. Combine batch production with phone Jobs, and reinvest sales into shop upgrades and employees as demand grows.